iMessage for PC: How to Get iMessage on Windows PC
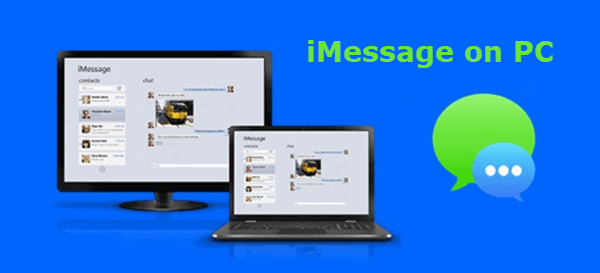
iMessage is the most welcome instant messaging app for iOS users. However, the app only works on Apple devices like iPhone, iPad, and Mac. It is very simple for iPhone and iPad users to keep up with iMessage on Mac computers. While for iOS owners who use Windows computers, there is no way to continue chatting with iMessage when leaving off their iPhone and iPad, unfortunately. Want iMessage for Windows PC? You’re lucky. Here this article will show you how to get iMessage on a PC so that you can keep sending and receiving iMessage on a Windows computer. Let’s check out.
Way 1. Use Chrome Remote Desktop
Chrome Remote Desktop is one of the easiest ways to remotely access iMessage from a Windows computer by connecting to your Mac computer. Here’s how you can use Chrome Remote Desktop to get iMessage on a PC:
Step 1: You should have both Mac and Windows computers for this process to work.
Step 2: Ensure both computers have the Chrome browser installed on them as well as the Chrome Remote Desktop extension. Click here to download Chrome Remote Desktop.
Step 3: Launch the program after installation. You should also download and install the Chrome Remote Desktop Host Installer on your Mac computer.
Step 4: Now, use the security code provided to connect the two computers and you be able to access iMessage on your Windows PC.

Way 2. Use a Free Emulator – iPadian
Emulators are apps that can allow you to run an Apple application on Windows, making this the best way to get iMessage on a PC. Follow these simple steps to access iMessage on your device using an emulator:
Step 1: Go to https://ipadian.net/ to download the latest version of the Emulator iPadian.
Step 2: As soon as the installation is complete, launch the emulator on your Windows PC.
Step 3: Use the search function to find the iMessage app and download it.
Step 4: Once the app is installed, launch it and you should be able to access iMessage on your PC.

Way 3. Jailbreak Your iPhone
Jailbreaking your iPhone is another way you can bypass iOS restrictions and even access iMessage on a PC. But before you jailbreak your device, it is important to back up your iPhone since this process could cause data loss. Once all the data on your iPhone has been successfully backed up, follow these simple steps to jailbreak the device:
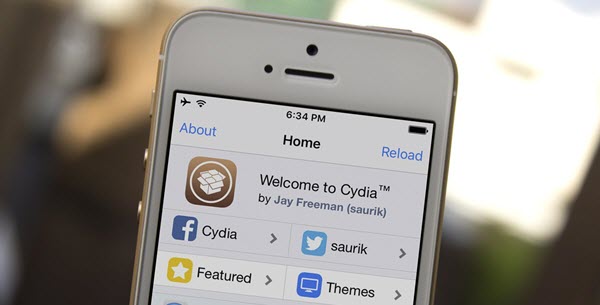
Step 1: To jailbreak your iPhone, you need to install software called Cydia first. This tool has numerous functions that are useful for the purpose of Jailbreaking the device.
Step 2: You will also need to install an app called Remote Messages in Cydia in order to set up a web-based interface. This app will cost about $4 but it will give you access to numerous extensions and applications.
Step 3: Now connect the iPhone to the web-based interface using the device’s IP address and log in to access your iMessage on your PC.
Way 4. Access iMessage History on PC
If you would rather not jailbreak your iPhone as it will void the warranty of the device, there is one more way you can take into account – access iMessage history on your Windows computer by using a third-party tool like iPhone Transfer. This program will help you to directly access all the data including iMessage on your iPhone and easily transfer them to your computer. Then you can flexibly access and view iMessage on a PC.
Key Features of iPhone Transfer:
- One-click to back up your iPhone or iPad to your Windows or Mac computer.
- Supports backup iMessage, text messages, contacts, call history, notes, photos, videos, WhatsApp, LINE, Kik, Viber, and more data.
- You can flexibly access and view all contents in the backup file in detail.
- It allows you to restore data from the backup to your iPhone/iPad without overwriting any existing data.
- Supports all iOS versions including iOS 16 and all iOS device models including iPhone 14/14 Pro/14 Pro Max, iPhone 13/12/11/XR/XS, etc.
Here’s how to access iMessage history on your PC
Step 1: Download and Install iPhone Transfer onto your Windows computer. Then launch the program and connect your iPhone or iPad to the computer using a USB cable.
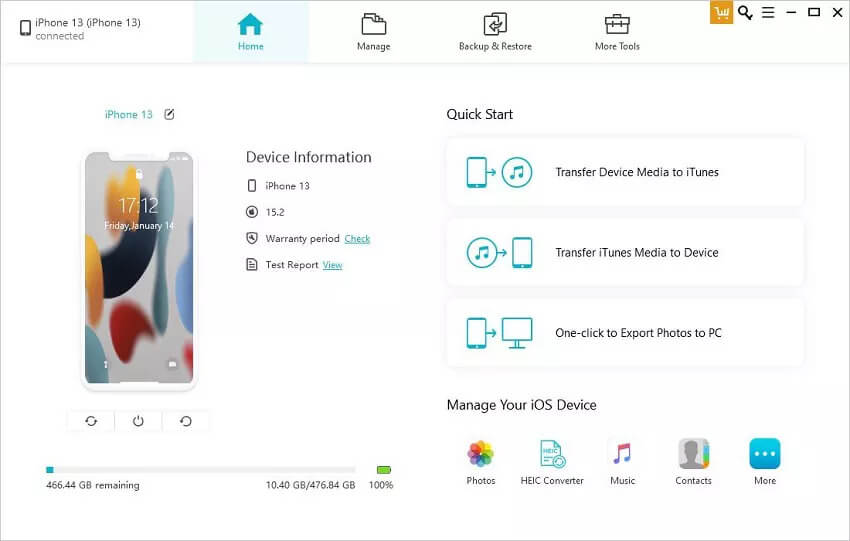
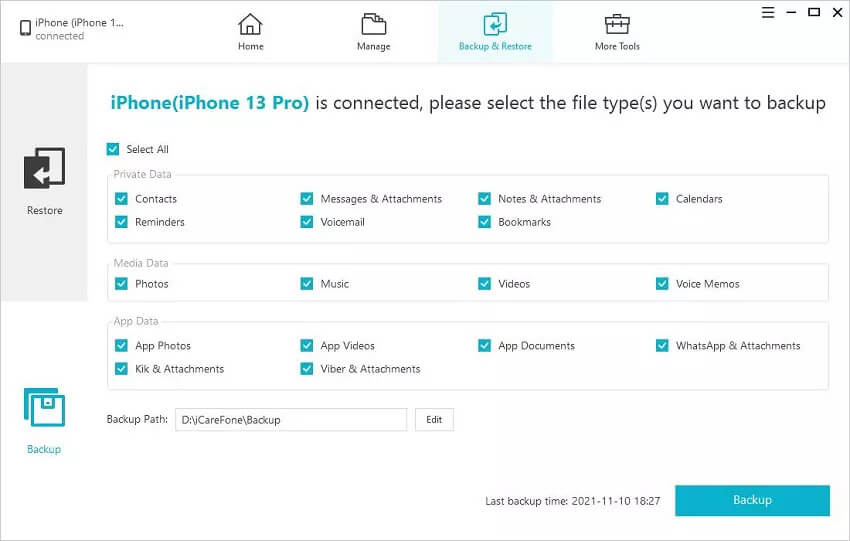
Step 2: Choose the “Backup & Restore” option and the program will detect the connected device automatically. Click on “Backup” and choose the file types you need to export like Messages, then click to begin the backup process.
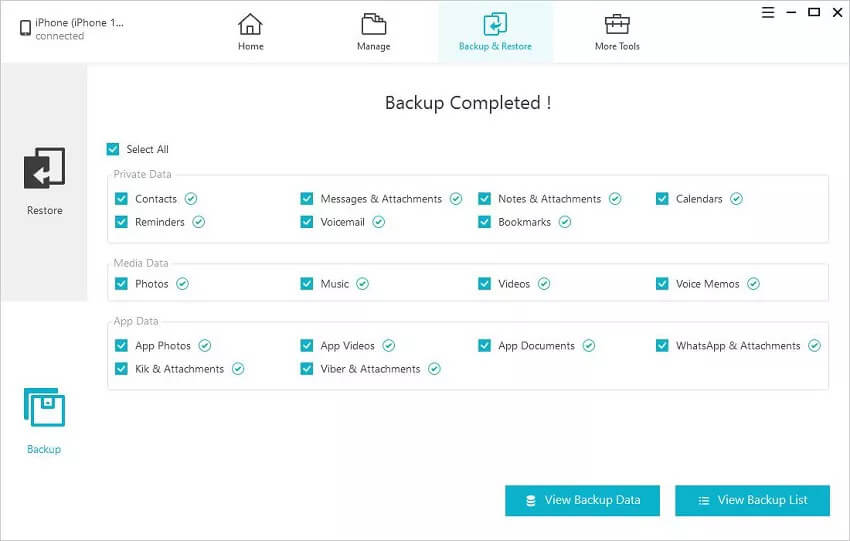
Step 3: When the backup is finished, you can click “View Backup History” to view all backup history on your computer. Then choose the backup you need and click “View > Next” to check the iMessage and other contents in the backup file.
Way 5. Use Other Instant Messaging Apps
iMessage is not available on Windows computers, but it doesn’t mean that you can’t chat with your friends and family on your Windows PC. Instead of accessing iMessage on PC through complex steps, actually you can choose to use other popular instant messaging apps on PC. Two of the best options to choose from include:
- WhatsApp for Windows – WhatsApp provides a Windows 10 app that allows you to continue using it on your computer. It is worth pointing out that you need first install the app on your phone and scan a QR code to sign in to the Windows 10 app.
- Facebook Messenger – You can not only view the Facebook or Messenger website but also download the Facebook Messenger desktop app to send and receive instant messages, send voice notes, make voice or video calls, share your location, etc.
Conclusion
The solutions above should help you easily access and use iMessage on a PC. They include lengthy steps to follow because iMessage was only meant to be used on iOS devices. If you are unable to access iMessage on your PC using the methods above, you should use the other instant messaging apps that are available for Windows PC.
How useful was this post?
Click on a star to rate it!
Average rating / 5. Vote count:

